


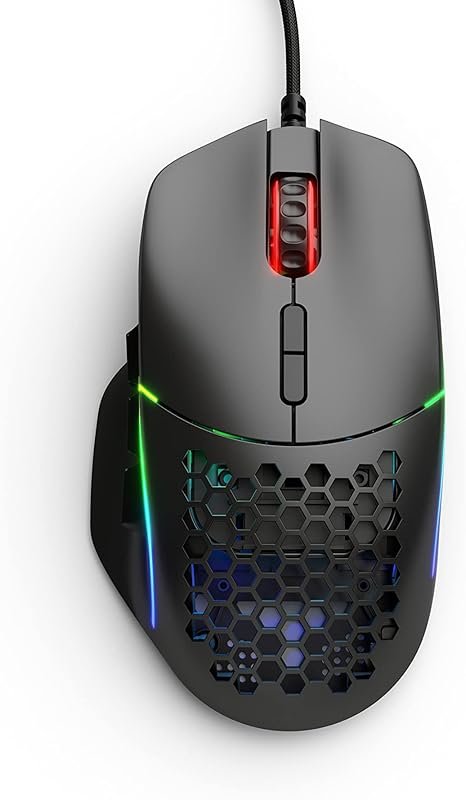
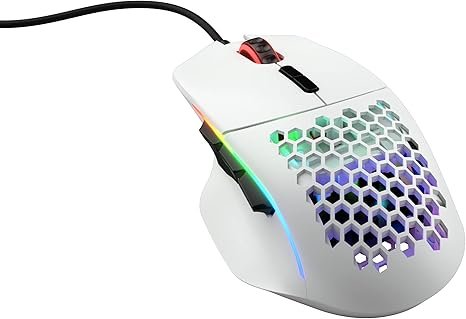


GLORIOUS MODEL I WIRED MOUSE
OMR 0.000
Available in stock
People Also Viewed
-
 GAMEON GOES27QHD120IPS – 27" QHD Gaming Monitor, 120Hz, 0.5ms MPRT, Fast IPS Panel, HDMI 2.1, FreeSync & Adaptive-Sync
OMR 65.000OMR 49.000 -
 Sony PS5 Slim CD Console – Middle East Version
OMR 209.000
Sony PS5 Slim CD Console – Middle East Version
OMR 209.000
-
 RTX 5070 TI GAMING TRIO, RYZEN 7 5700X 3D, TOWER COOLER RGB, B550M ASROCK, 16GB 3200MHZ, 500 GB SSD, 750W, GAMEON VALKYRIE CASE - 3 FANS
OMR 655.000
RTX 5070 TI GAMING TRIO, RYZEN 7 5700X 3D, TOWER COOLER RGB, B550M ASROCK, 16GB 3200MHZ, 500 GB SSD, 750W, GAMEON VALKYRIE CASE - 3 FANS
OMR 655.000
-
 AX900 USB WiFi 6 Network Adapter Free Driver BT5.3 WiFi Dongle Dual Band 900Mbps High Gain Antenna Network Card Wireless Receiver for Windows10/11
OMR 4.900
AX900 USB WiFi 6 Network Adapter Free Driver BT5.3 WiFi Dongle Dual Band 900Mbps High Gain Antenna Network Card Wireless Receiver for Windows10/11
OMR 4.900
-
 LIAN LI O11 VISION Compact, black
OMR 49.000
LIAN LI O11 VISION Compact, black
OMR 49.000
Description
Default DPI Levels
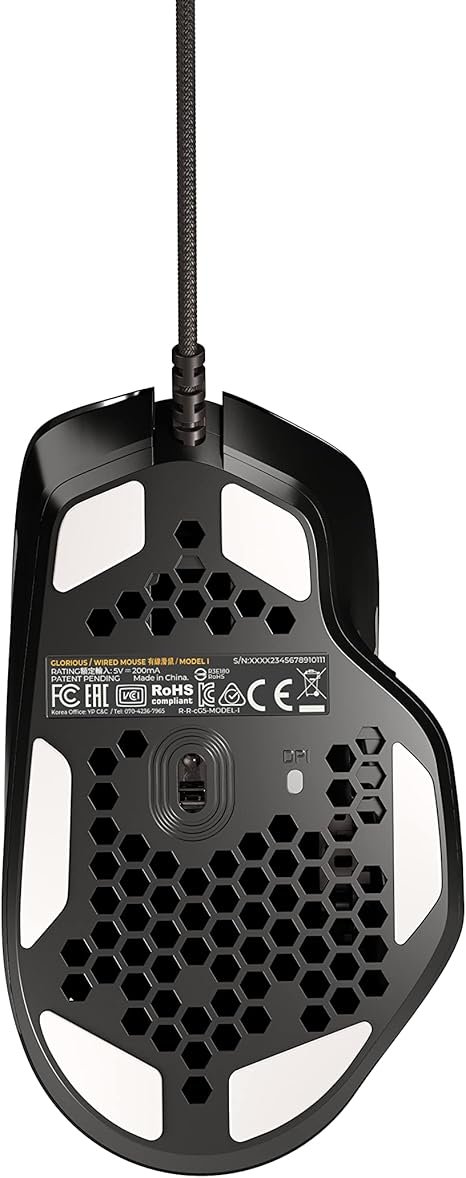
The DPI Indicator on the bottom of the mouse will show a color to reflect which DPI level is currently active. Cycle through DPI levels by pressing the DPI Button located behind the scroll wheel.
DPI values, the default DPI level, and the colors used to indicate levels can be customized in Glorious CORE software.
400 DPI
Yellow
800 DPI
Blue
1600 DPI (Default)
Red
3200 DPI
Green
• 1× Glorious Model I Wired Gaming Mouse
Glorious mice come with blue protective film on the G-Skates mouse feet in order to protect them. Ensure you remove these coverings before use.
Plug & Play
Connect the mouse to an available USB port and the mouse will automatically install all necessary drivers.
System Requirements
• Available USB port
• Windows 7+, MacOS, Linux
Software
Glorious CORE
Instructions for downloading Glorious CORE are available at the link below. CORE is not required to use the mouse, but is needed to unlock a fully customizable experience – unlock the full RGB color palette, create macros, remap mouse buttons, and personalize DPI settings. (Windows OS only)
Side Buttons
DPI Focus Button
The DPI Focus button is the larger side button near where your thumb rests on the mouse, below the other three side buttons. Pressing and holding this button will temporarily change the DPI of your mouse. The default DPI Focus is 400 DPI.
This setting can be changed in Glorious CORE under the “Key Binding” tab. This function can also be bound to any other mouse button as desired by using CORE.
Swappable Magnetic Buttons
The Model I has four total buttons on the left side. Two of these buttons are magnetic and removable, allowing you to change their shape to compliment your play style.

The first removable button is the DPI Focus button, located near where your thumb rests below the other three side buttons.
The second removable button is located at the rear of the group of three side buttons.
Removing a Magnetic Side Button
1. There is a small groove at the front of the button. Place your finger or fingernail into this opening.
2. Lightly lift your finger and the button away from the side of the Model I. Since the buttons are magnetic, you will feel a small amount of resistance as you do this.
3. The magnetic button should begin to slowly pull away from the mouse and lift from the slot. Do this slowly and carefully to ensure that the button does not fly out of your hand and get lost.
Installing a Magnetic Side Button
1. Select your preferred mouse button shape from the three provided options.
2. Looking at the button interior, you will notice two posts that help it attach to its respective magnetic slot. The first post is flat & horizontal. The second is circular with a hole in the middle. Line up these posts with the matching holes in the empty button slot.
3. Insert the round post into the rear of the slot before inserting the front, horizontal post.
4. Once aligned, the magnets should pick up the replaceable button and snap it securely into place.
Lighting Effects
The Model I Wired has built-in LED effects that can be changed using the button combinations below. More RGB options are available in Glorious CORE.
Reviews (0)
Similar Products
-
Out Of Stock


-
Out Of Stock


 No products in the cart.
Reviews
There are no reviews yet.